
Entryway Wall Decor Ideas: Create a Splendid Welcoming Space
Key Takeaways
- Personal photos are the quickest way to create a warm, welcoming entry; gallery walls with peel-and-stick frames like Mixtiles make it easy and damage-free;
- Plan first: measure, choose a focal point, define a palette, and pick a layout, grid, salon-style, or linear, that fits your wall and traffic flow;
- Small or narrow entryways benefit from vertical stacks, mirrors plus photos, slim ledges, and cohesive color stories to visually expand the space;
- Mix function and style: pair hooks, key drops, and mail slots with personalized art, and refresh seasonally without nails or tools.
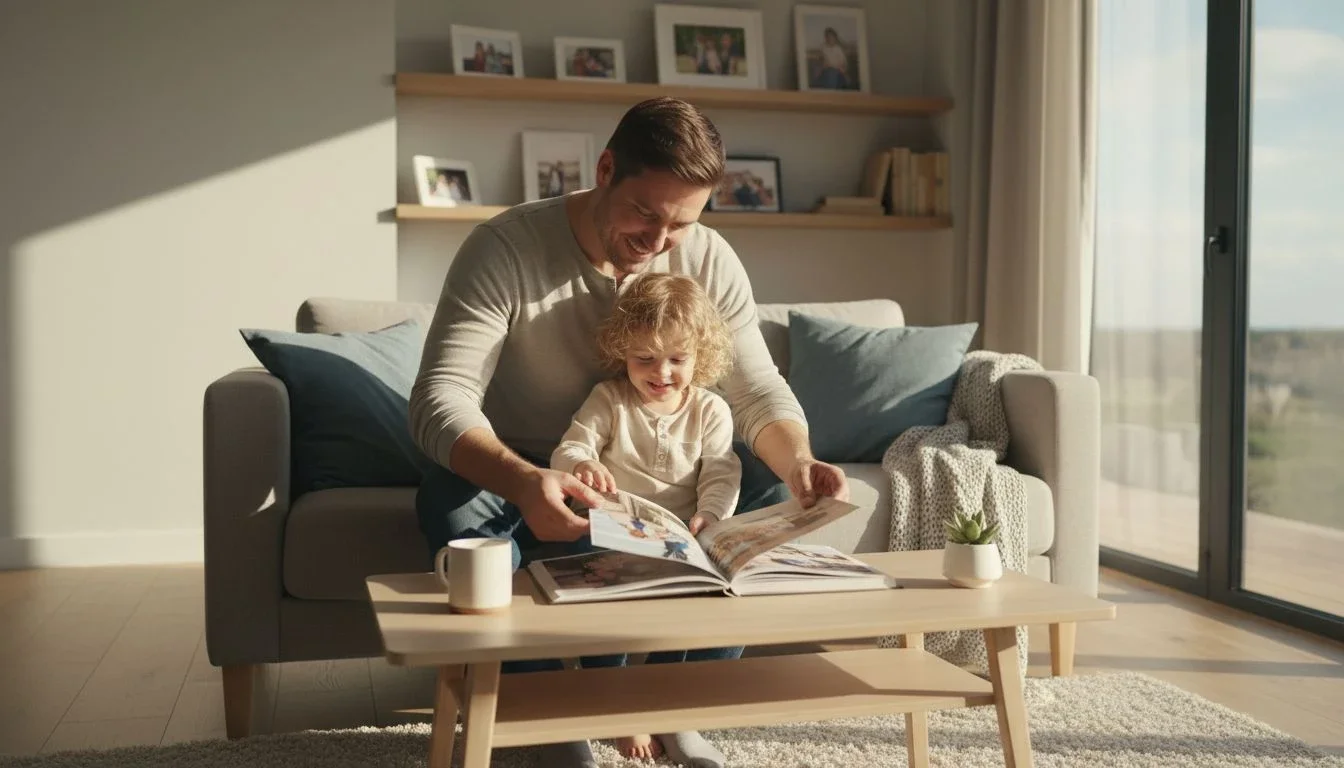
Your entryway sets the tone for your whole home. Whether you have a tiny foyer or a wide hallway, your wall is the perfect place to add personality, function, and light. In this guide, you will find 27 entryway wall decor ideas that balance style with everyday practicality, plus renter-friendly ways to hang art without nails. From photo tiles to mirrors and smart storage, you will learn how to plan, style, and refresh your entry like a pro.
Ready to design a welcoming entryway? Create stunning gallery walls with our personalized, no-damage photo tiles. Start your first wall today.
Why does your entryway wall matter more than you think?
The entry is your daily first impression, so it deserves attention. It can be both practical and personal, combining hooks and key storage with memories that make you smile. Light and spacing tricks, like mirrors and well-placed art, can make small or dark entries feel open. Most importantly, a curated wall of happy moments can lift your mood each time you leave and return.
How should you plan your entryway wall like a designer?

Start with a simple plan. Measure your space, pick a focal point, set a color palette, then choose a layout that suits your wall and traffic patterns. This small upfront effort makes every other decision easy.
What measurements matter most?
Measure wall width and height, note door swings, thermostat or switch placements, and outlets. Watch how people move through the space so your art hangs out of bump zones near benches or hooks. These measurements guide your layout, spacing, and the number of pieces that will fit comfortably.
Where’s your focal point?
The area above a console table, bench, or shoe cabinet is ideal because furniture anchors the art. If you have a blank wall only, center your composition at natural eye level to create an instant focal point that feels intentional.
What color palette should you use?
Pull colors from your front door, rug, or adjacent room. Two calm neutrals plus one accent hue keeps small spaces cohesive. If you prefer variety, consider black-and-white photos with one accent color in frames or wall signs for a crisp, curated look.
Which layout works for your space?
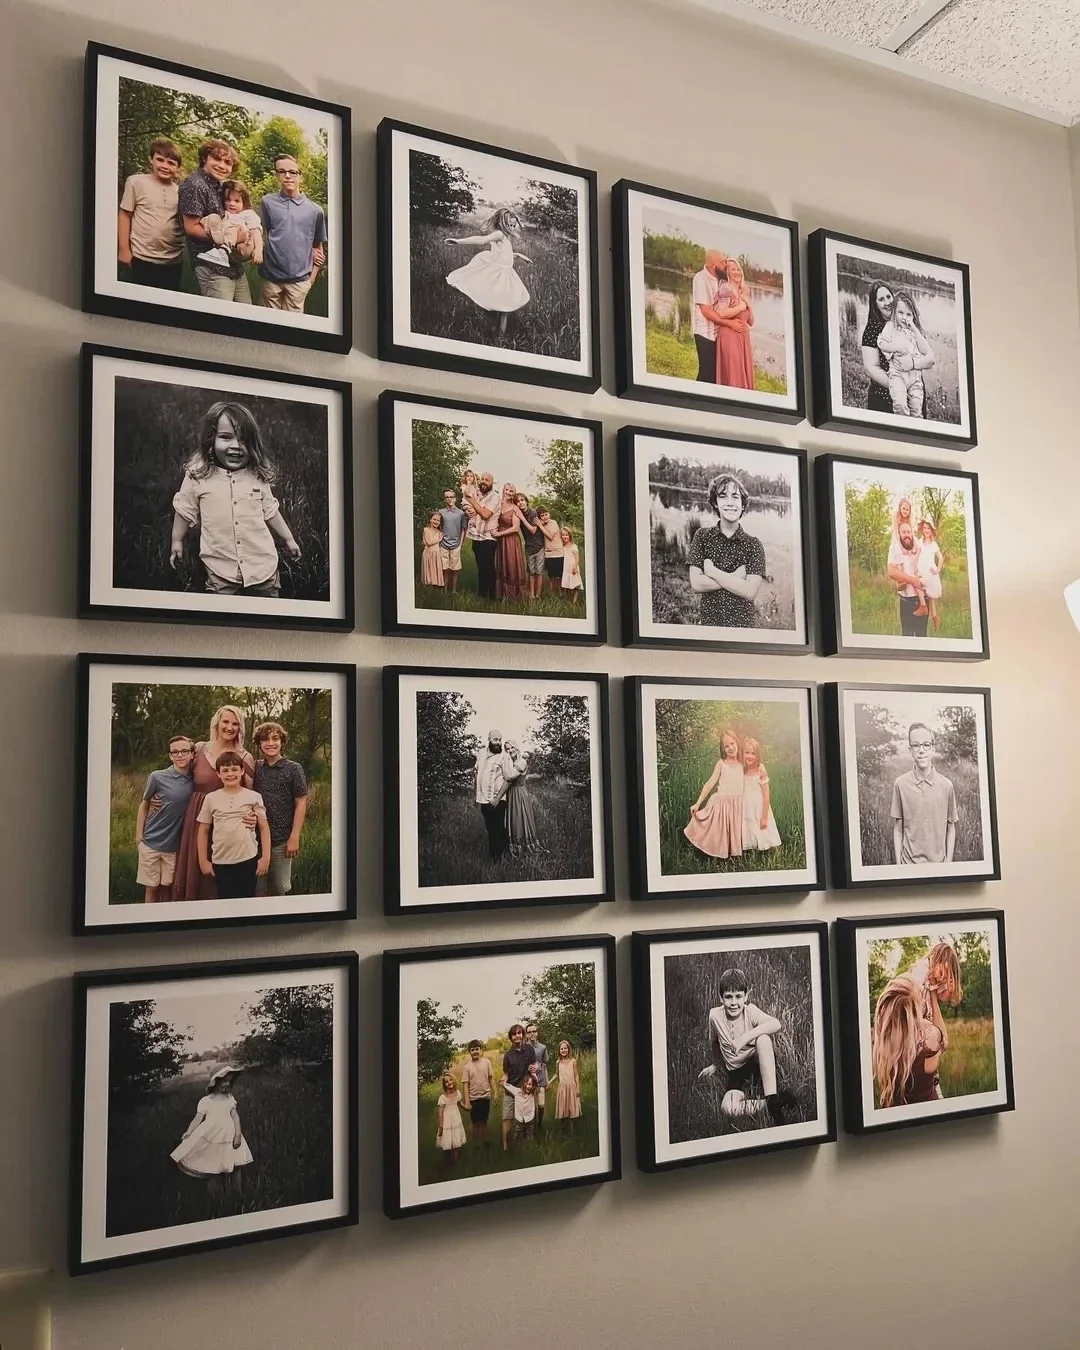
A grid looks polished and modern, great for calm entries. Salon-style mixes sizes and finishes for personality and storytelling. Linear rows fit narrow hallways or above long benches. Vertical stacks work near doors where you have more height than width. For more expert layout guidance, explore our designer recommendations for wall decor.
What are the best entryway wall decor ideas for small or narrow spaces?
Focus on height, light, and cohesion. Vertical stacks, mirrors paired with photos, and slim ledges help small entries feel bigger. If you are searching for small entryway wall decor ideas, these quick moves create visual expansion without clutter.
Go vertical to draw the eye up
Stack a 2 by 3 grid of Mixtiles to add height without crowding. Vertical compositions maximize tight walls, especially beside doors or windows.
Pro styling tip
Leave 6 to 8 inches between the top of a bench or console and the bottom of your lowest frame so everything breathes.
Pair mirrors with photos for light and depth
Use a round mirror centered over a console, then flank it with two narrow columns of tiles. Choose lighter frame colors or black-and-white photos to keep the look airy and calm. Need more ideas on picking shapes and placements? See our wall mirrors decor ideas.
Use slim ledges for rotation
Shallow picture ledges let you lean a few tiles and small objects for an easy, ever-changing display. Keep ledges 3 to 4 inches deep to avoid crowding in high-traffic areas.
Style above functional zones
Above a bench, keep art 8 to 10 inches above the seat so backpacks and coats do not bump frames. If you have coat hooks, leave at least 6 inches around them for clearance.
Keep it cohesive
Limit frame finishes to one or two. Repeat shapes like circles or arches in mirrors and decor to create rhythm. Cohesion is the simplest way to make a small entry feel designed.
How can you create a renter-friendly gallery wall without nails?
Choose peel-and-stick or magnetic mounting options so you can hang, remove, and reposition without damage. Mixtiles photo tiles are lightweight and designed to stick and restick on most painted walls, including many textured surfaces, with clean removal.
What gallery wall layouts work best?
Try a classic 3 by 3 or 4 by 3 grid for a crisp, modern entrance. Prefer variety? Mix travel photos, family moments, and minimalist wall arts in a salon-style arrangement. In narrow hallways, align the top edges or the centers for a sleek line. On stairs, step your tiles up the rail, about 6 to 8 inches above it, for a smooth ascent. For step-by-step inspiration, browse our staircase wall decor ideas.
How do you map it out fast?
Find the center point over your console or bench and place your first tile there. Work outward, keeping even spacing. Many Mixtiles customers use the tile width as a quick, consistent spacer while fine-tuning alignment by eye.
What’s a smart starter set?
Start with 6 to 12 tiles for impact without overwhelming the space. Mixtiles Gallery Wall Sets provide curated layouts and an included template, which makes installation simple while ensuring balance.
Layout recipes
Use these quick recipes as a starting point for your wall.
- Six tiles: 2 by 3 vertical stack for tight walls;
- Eight tiles: 2 by 4 arrangement above a standard console;
- Twelve tiles: 3 by 4 grid for a statement entry wall.
Build a no-stress entryway gallery in minutes. Upload your photos to create beautiful personalized canvas prints. Get your art delivered, no tools required.
Which photo themes look best in an entryway?
Choose themes that tell your story and suit the mood you want to set. Family laughs, travel highlights, or a refined black-and-white mix all work beautifully in an entry.
Family moments that make guests smile

Candid laughs, first-day-of-school snapshots, and weekend adventures create instant warmth. Keep edits light so faces and emotions stay true.
Travel memories for a conversation starter

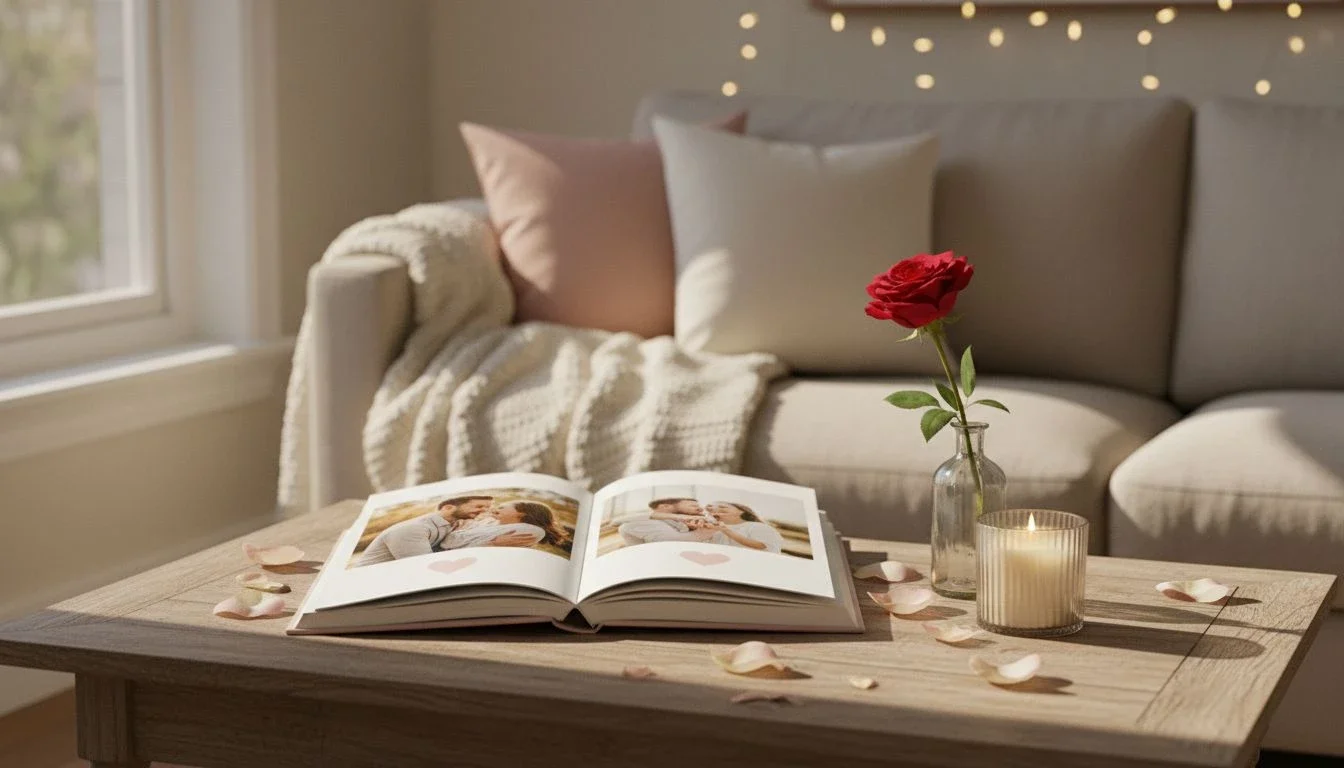
Group photos by destination or color. A series of coastal blues or desert neutrals feels cohesive and refined while sparking stories, which you can also preserve in a travel photo book.
Black-and-white for instant polish

Convert mixed photo sources to black and white for cohesion, a style that looks stunning on canvas pictures. This is ideal when you want calm energy in a compact space.
Color stories and seasonal accents

Choose a dominant hue, like soft sage or navy, then add 1 or 2 accent tiles you can swap as seasons change. Mixtiles stick-and-restick makes refreshing simple.
Typography and meaningful quotes

Anchor your gallery with a short phrase or family name. Mixtiles Wall Signs are sized to play nicely with photo tiles and use the same easy mounting system.
How do you mix function and decor in a high-traffic drop zone?
Blend storage and style. Start with the essentials for keys, mail, and coats, then place a compact gallery above to connect it all visually.
Design a useful “landing strip”
Install hooks for coats and bags, a narrow key rail or small bowl for pockets, and a mail tray. Keep surfaces shallow so the area feels open and safe in daily traffic.
Pair utility with personality
Center a tight gallery above your console or organizer. A 2 by 3 tile stack draws the eye up and away from busy surfaces, keeping the look tidy.
Create a simple family command center
Add a calendar tile or a slim dry-erase board beside your photo wall. Keep notes to one side of the gallery so your photos remain the focal point.
Avoid clutter
Place the lowest tile above the swing of shoulder bags and zippers. Edit surfaces weekly so the entry remains fresh and calm.
What sizes, spacing, and hanging heights should you use?
Follow a few easy rules. Aim to center your arrangement at eye level, leave breathing room above furniture, and keep even spacing between tiles. The table below summarizes the essential measurements in both imperial and metric units:
|
Scenario |
Recommended Measurement (inches) |
Recommended Measurement (cm) |
|---|---|---|
|
Gallery center height from floor |
57-60 to center |
145-152 to center |
|
Space above console or bench |
6-10 clearance |
15-25 clearance |
|
Spacing between Mixtiles in a grid |
1.5-2 apart |
4-5 apart |
|
Group width vs furniture width |
About two-thirds |
About two-thirds |
|
Stairway distance above handrail |
6-8 above |
15-20 above |
|
Clearance near door trim or hooks |
6 minimum |
15 minimum |
The eye-level rule
Most entries feel best with the gallery center at 57 to 60 inches. If household members vary in height, split the difference for a comfortable average.
Over furniture spacing
Leave 6 to 10 inches between the top of your console or bench and the bottom of your frames. This gap gives your display room to breathe.
Grid spacing
Keep 1.5 to 2 inches between tiles for a clean, gallery-style look. Consistent spacing is more important than getting a perfect number.
Proportions
As a rule of thumb, your wall art grouping should span about two-thirds the width of the furniture beneath it. This creates balance without overwhelming the piece.
How do you style around doors, windows, and awkward angles?
Use symmetry and smart spacing to avoid a cramped look. When elements are off-center, counterbalance with vertical stacks or a floor plant to ground the composition.
Between a door and a window, center your gallery within the open wall area so it reads as one deliberate moment. For asymmetrical entries, place the gallery slightly off-center and add a tall accessory on the lighter side to restore balance.
What lighting and mirrors make an entryway feel bigger?

Mirrors bounce light and add depth. Layered lighting warms the space and highlights your photos so the entry feels inviting at all hours.
Mirrors for brightness
Round or arched mirrors soften boxy rooms. Pair a mirror with photo tiles to add texture and personality without closing in the space.
Layered lighting
Add slim sconces or a picture light above your gallery to cast a warm glow. Choose warm bulbs in the 2700 to 3000 K range for a welcoming tone that flatters skin tones in family photos.
How do you refresh your entryway wall for seasons and occasions?
Build a core set of tiles you love, then rotate a few accents for seasons and celebrations. Mixtiles stick-and-restick technology makes switching out art fast and clean. If you love decorating for the holidays, these Christmas wall decor ideas can help you plan festive swaps without nails.
Quick swap ideas
Here are quick seasonal swaps you can rotate through the year.
- Spring: Florals, garden greens, and pastel travel moments;
- Summer: Coastal blues, beach days, and sunlit city scenes;
- Fall: Warm neutrals, pumpkin patch photos, and golden hour portraits;
- Winter: Black-and-white family moments and cozy indoor scenes.
What are some budget-friendly entryway wall decor ideas?
You can transform an entry with just a few pieces. Focus on one strong focal arrangement and a couple of smart accents.
- Start small: A six-tile mini gallery above a shoe cabinet feels complete;
- Mix formats: Pair photo tiles with one thrifted mirror or a simple hook strip;
- Add textiles: A runner plus one crisp grid can change the entire mood fast;
- Print from your phone: Candid photos tell better stories than perfect staged shots.
Your entryway wall should welcome, wow, and work hard. With a simple plan, measuring carefully, picking a palette, and choosing a layout, you can turn even the smallest foyer into a curated space. Renter-friendly options like Mixtiles let you build personalized galleries without nails, so you can refresh your entry anytime. Use these entryway wall decor ideas to create a space that reflects your story from the first step inside.
Make your first impression unforgettable. Create your dream photo gallery wall with Mixtiles. Our peel and stick frames make it easy to build beautiful photo walls without any damage. Get started now.
Frequently Asked Questions
What should you hang on an entryway wall?
Start with an anchor, a mirror or a balanced photo gallery. Add slim hooks or a key rail for function. Personal photos in peel-and-stick tiles create instant warmth, no nails required. Keep finishes cohesive so the space feels tidy, bright, and welcoming.
How do you decorate an entryway wall?
Measure the wall, choose a focal point above a bench or console, then set a simple color palette. Pick a layout that suits traffic, grid or vertical stack. Add a mirror for light, keep spacing consistent, and use peel-and-stick frames so you can reposition easily.
What are the best entryway wall decor ideas?
Try a clean grid of photos, a round mirror flanked by vertical photo stacks, or a slim picture ledge for easy rotation. Add a small sconce or picture light for warmth. Mix in hooks or a mail slot, then refresh seasonally with removable photo tiles.
What is the most welcoming color for an entryway?
Warm neutrals feel inviting, think soft white, cream, greige, or warm taupe. Layer gentle accents like sage, dusty blue, or terracotta. Light walls make small entries feel larger, and black-and-white photos pop beautifully against a calm, cohesive palette.
Be the first to know — deals, news & decor ideas.
By clicking you agree to the Terms of Use & Privacy Policy